【unity入門】Physics Material 2Dの使い方-『摩擦と跳ね返り』を設定しよう!
unityで2Dゲームを作成しているとき、オブジェクトに摩擦や跳ね返りを設定したい場合があるかと思います。
unity2Dで摩擦や跳ね返りを設定したい場合はRigidbody2DにPhysics Material 2Dというものをセットします。
この記事では、
1.Physics Material 2Dの使い方
2.摩擦力と跳ね方を変える
3.スクリプトで摩擦力と跳ね方を変える
といったことを扱っています。
この記事の目次
Physics Material 2Dの使い方
unity2Dで摩擦や跳ね返りを設定したい場合はRigidbody2DにPhysics Material 2Dというものをセットし、そのあとにどのくらい跳ねるのか、摩擦があるのかを設定していきます。
まずはPhysics Material 2Dを作成していきましょう!
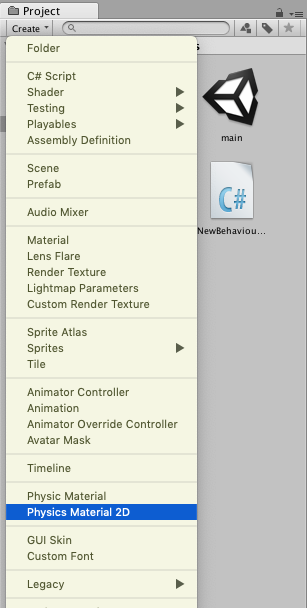
Physics Material 2Dを作成
Physics Material 2DはProjectビューからCreate>Physics Material 2Dで作成できます。
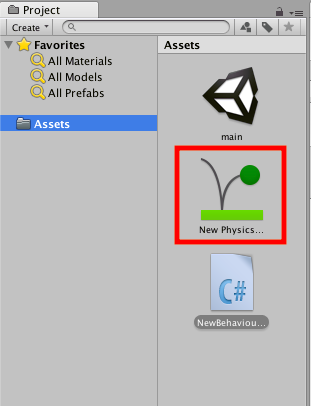
Physics Material 2Dを適応
作成したPhysics Material 2Dをオブジェクトに適応させていきましょう。
適応させるには、オブジェクトを選択した状態で作成したphysics material 2dをRigidbody2DのMaterialにドラッグ&ドロップです。
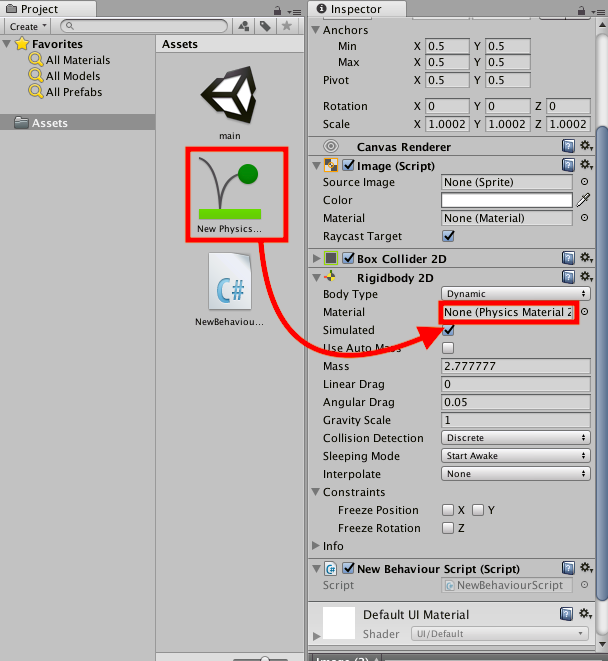
これで、physics material 2dが適応されました。
当然ですが、physics material 2dをオブジェクトに適応しても最初の段階では自分が思い描いていた摩擦力や跳ね方ではありません。
摩擦力や跳ね方のパラメーターを変えることで自分好みのオブジェクトにしていきます。
摩擦力と跳ね方を変える
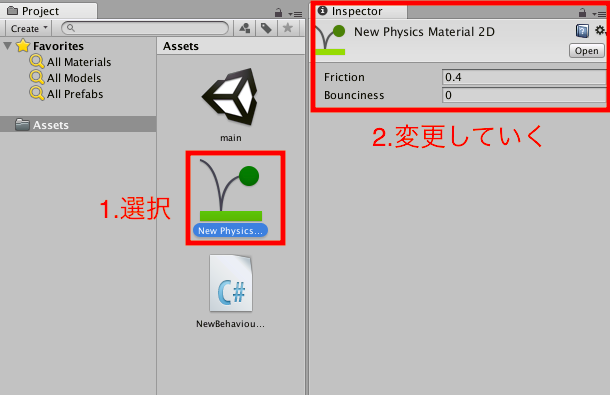
摩擦力と跳ね方を変えるには、先ほど作成したphysics material 2dのパラメーターを変更していきます。
先ほど作成したphysics material 2dを選択した状態で、インスペクターから変更します。
摩擦力を変える
摩擦力を変えるにはパラメータの内Frictionを変更します。

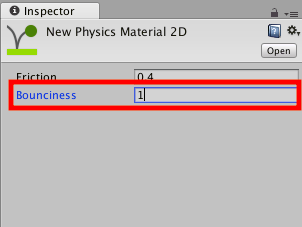
跳ね方を変える
跳ね方を変えるにはパラメータの内Bouncinessを変更します。
スクリプトで摩擦力と跳ね方を変える
スクリプトで摩擦力と跳ね方を変えることもできます。
スクリプトをオブジェクトに追加
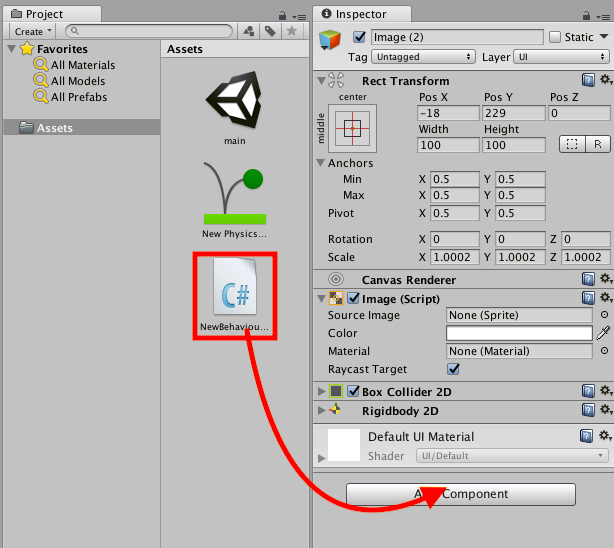
まずはスクリプトをオブジェクトに追加してください。
摩擦力や跳ね方を変えたいオブジェクトを選択した状態で、
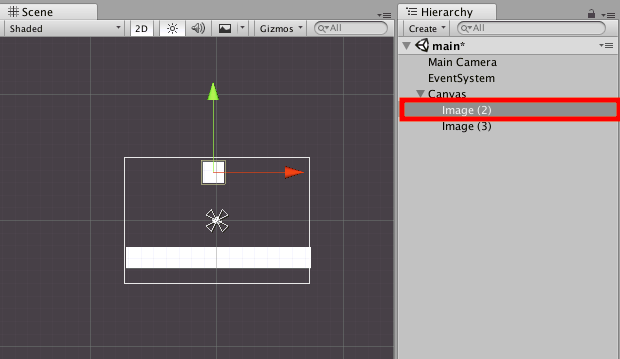
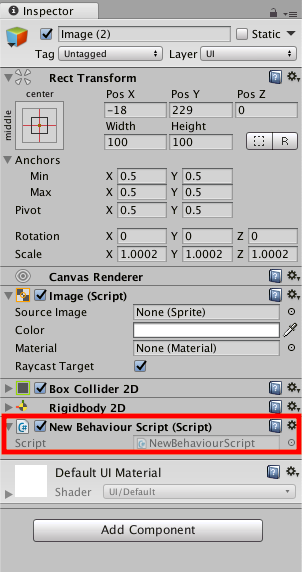
スクリプトをドラッグ&ドロップで追加できます。
記述内容
using System.Collections;
using System.Collections.Generic;
using UnityEngine;

public class NewBehaviourScript : MonoBehaviour {

    void Start()
    {
        //Physics Material2Dを取得
        var material = GetComponent<Rigidbody2D>().sharedMaterial;

        material.friction = 0.5f;
        material.bounciness = 1f;
    }

}