【Unity入門】プレイヤーをカメラで追従する方法

ゲームを作っているとプレイヤーをカメラで追従したくなることってありますよね。
この記事では、2Dと3Dに分けてそれぞれの追従方法を解説していきます!
この記事の目次
【2D】プレイヤーをカメラで追従する

動画で見たい場合は、こちらをどうぞ。
流れ
1.背景を作る
2.プレイヤーを作る
3.スクリプトでカメラを追従させる
背景を作る
わかりやすくするためにまずは背景を作っていきます。
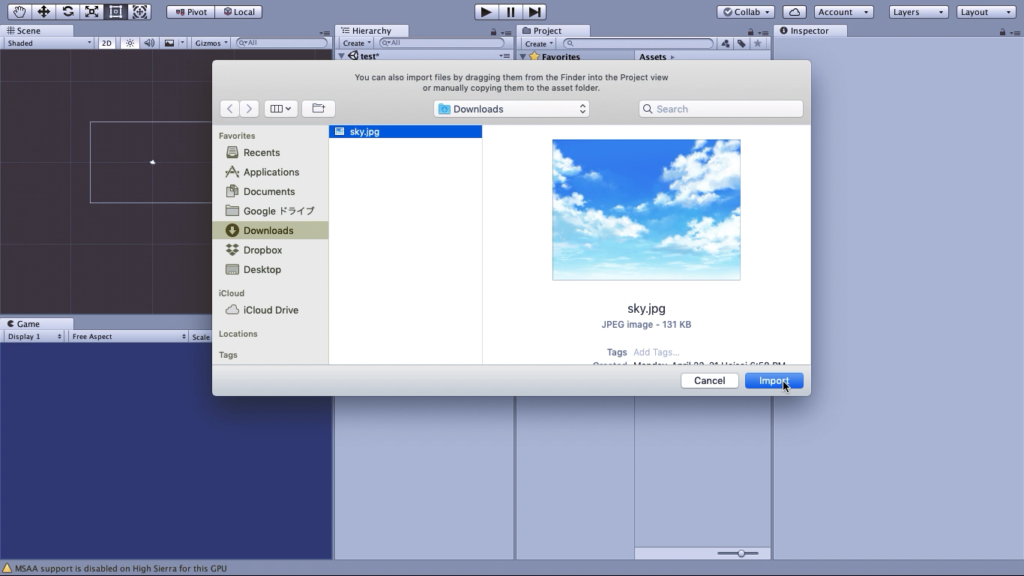
背景を作成するために背景の画像を取り込みましょう。
Assets > Import New Assetsを押し、

背景にしたい画像を選択してImportを押してください。
画像を取り込んだらSceneビューにドラッグ&ドロップしてください。


ドラッグ&ドロップをした段階では背景のサイズが小さいと思うので、引き伸ばしましょう。

これで背景ができました。
プレイヤーを作る
背景ができたので次はプレイヤーを作っていきましょう。
背景と同じようにプレイヤーも画像を取り込んで、ドラッグ&ドロップします。
なので、まずはプレイヤーにしたい画像を取り込みましょう。
Assets > Import New Assetsと押していきます。
プレイヤーにしたい画像を選択してImpotを押しましょう。

画像を取り込んだらSceneビューにドラッグ&ドロップしてください。

後ほどカメラを追従させた時にわかりやすくするためにプレイヤーを常に動くようにしていきます。
プレイヤーを制御するにはスクリプトを追加する必要があるので、プレイヤーのオブジェクトを選択した状態でインスペクターからAddComponent > New Scriptを押してください。

名前を『SushiManager』とでもしておきましょう。

追加したスクリプトにコードを記述していきます。
記述内容は、
using System.Collections;
using System.Collections.Generic;
using UnityEngine;

public class SushiManager : MonoBehaviour {

    int positionX;

	// Use this for initialization
	void Start () {

	}

	// Update is called once per frame
	void Update () {

        positionX++;

        //プレイヤーを移動させる
        transform.position = new Vector3(positionX, 0, 0);
	}
}
簡単に説明すると、int型の変数『PositionX』を作り、常に加算し続けます。
そして、プレイヤーのx軸を加算され続けている変数『PositionX』の値と同じにすることで、プレイヤーが常に動き続けます。
実行結果は、

プレイヤーが移動するようになりましたね!
スクリプトでカメラを追従させる
次はスクリプトを使ってプレイヤーをカメラが追従するようにしましょう。
『Main Camera』を選択した状態でインスペクターから、Add Component > NewScriptを押してください。

名前を『CameraManager』としましょう。

スクリプト『CameraManager』にカメラの位置をプレイヤーの位置と同じにするコードを書いていきましょう。
記述内容は、
using System.Collections;
using System.Collections.Generic;
using UnityEngine;

public class CameraManager : MonoBehaviour {

    //寿司を格納する変数
    public GameObject sushi;

	// Use this for initialization
	void Start () {

	}

	// Update is called once per frame
	void Update () {

        Vector3 sushiPos = sushi.transform.position;

        //カメラとプレイヤーの位置を同じにする
        transform.position = new Vector3(sushiPos.x, 0, -10);
	}
}
スクリプト『CameraManager』に記述された変数『Sushi』にプレイヤーオブジェクトをセットしましょう。
プレイヤーオブジェクトを変数『Sushi』にドラッグ&ドロップです。


実行してみましょう。
実行結果は、
プレイヤーをカメラが追従していますね!
【3D】一定の距離を保ってカメラで追従する
動画で見たい場合は、こちらをどうぞ。
次は3Dでプレイヤーを一定の距離を保ってカメラで追従する処理を解説していきましょう!
流れ
1.プレイヤーを動くようにする
2.カメラで追従するスクリプトを作成
プレイヤーを動くようにする
まずはプレイヤーを作りましょう。
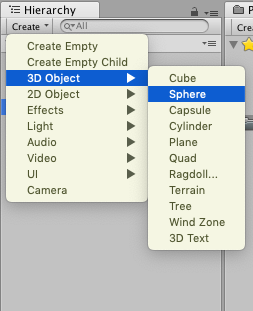
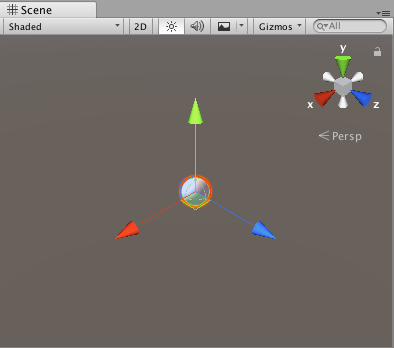
今回はプレイヤーをSphereで作ります。
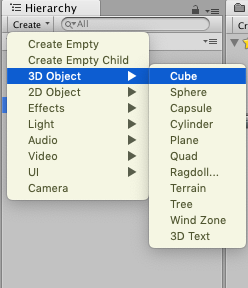
作り方は、HierarchyビューでCreate > 3D Object > Sphereです。
次にプレイヤーが乗っかる地面を作りましょう。
作り方は、HierarchyビューでCreate > 3D Object > Cubeです。
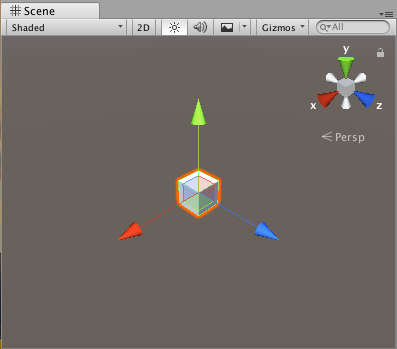
Cubeは地面になるのでSphereよりも下に位置を下げておきましょう。
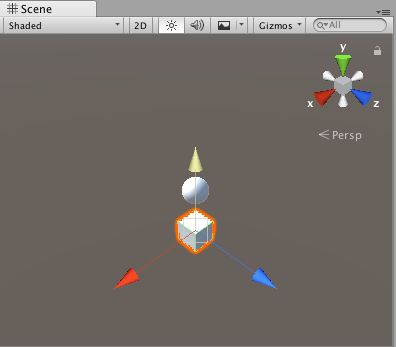
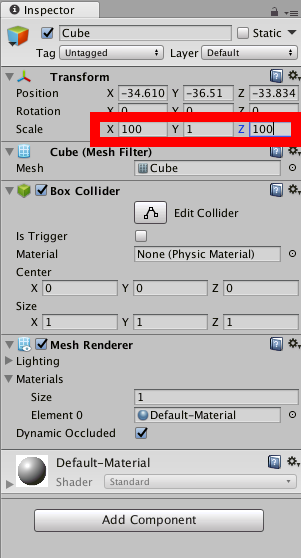
Cubeのサイズを大きくしていきます。
Cubeを選択した状態でScaleのxとyを共に100にしましょう。
プレイヤーを動かせるようにしていきましょう。
スクリプトに記述して制御するのでまずはスクリプトをプレイヤーにつけましょう。
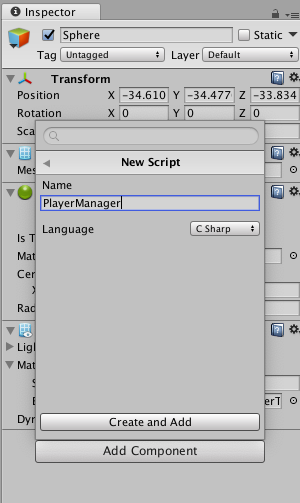
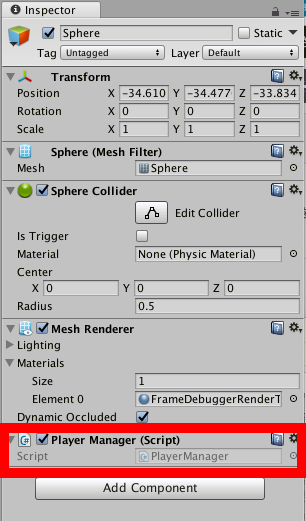
付け方は、Sphereを選択した状態でAddComponent > New Script
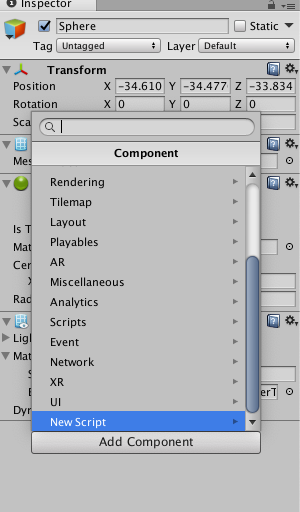
名前を『PlayerManager』に変更してCreate And Addで追加できます。
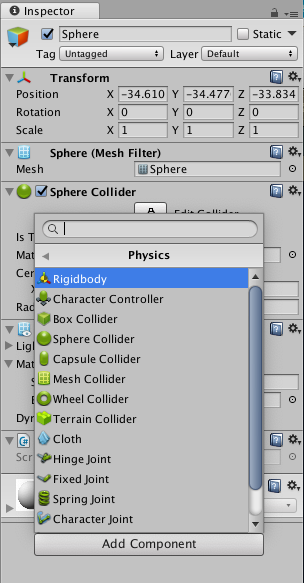
次にプレイヤーにRigidbodyコンポーネントを追加しましょう。
Sphereを選択した状態で、Add Component > Physics
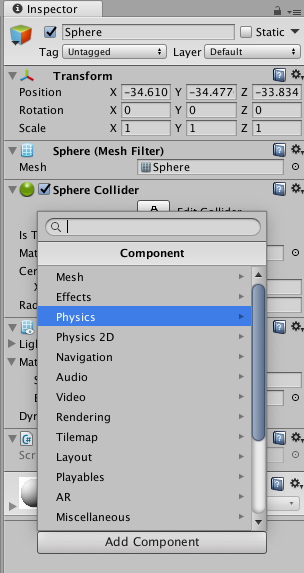
Rigidbodyを押してください。

次は『PlayerManager』にコードを記述して、プレイヤーを十字キーで動かせるようにしましょう。
記述内容は、
using System.Collections;
using System.Collections.Generic;
using UnityEngine;

public class PlayerManager : MonoBehaviour {

    Rigidbody rb;

	// Use this for initialization
	void Start () {

        //プレイヤーのrigidbodyコンポーネントを格納
        rb = GetComponent<Rigidbody>();
	}

	// Update is called once per frame
	void Update () {

        //十字キー入力
        float x = Input.GetAxis("Horizontal");
        float z = Input.GetAxis("Vertical");

        //プレイヤーに力を加えて移動させる
        rb.AddForce(x * 30, 0, z * 30);

	}
}
実行結果は、
カメラで追従するスクリプトを作成
カメラをスクリプトで制御して、プレイヤーに追従するようにしていきましょう。
まずはカメラにスクリプトを追加します。
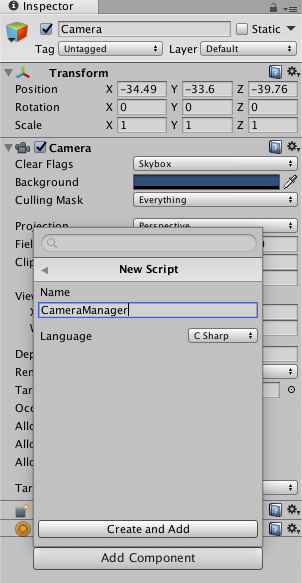
Cameraオブジェクトを選択した状態で、Add Component > New Script
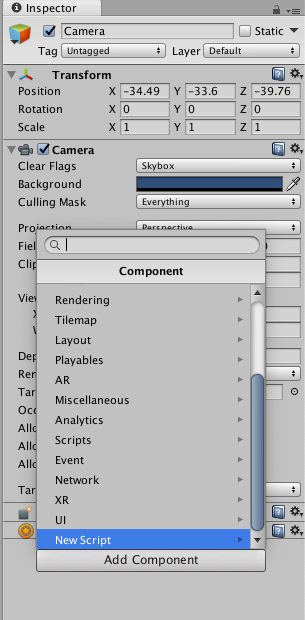
名前を『CameraManager』としてCreate and Add
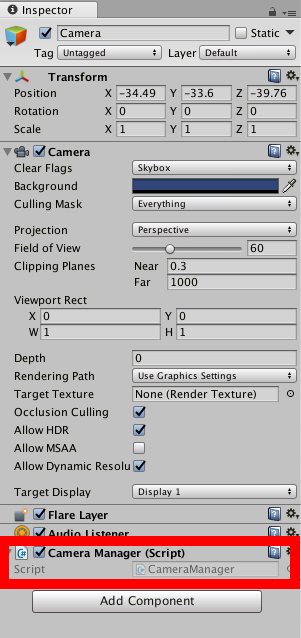
『CameraManager』スクリプトにコードを記述して、カメラがプレイヤーに追従するようにしましょう。
記述内容は、
using System.Collections;
using System.Collections.Generic;
using UnityEngine;

public class CameraManager : MonoBehaviour {

    //プレイヤーを格納する変数
    public GameObject player;

    //プレイヤーとの距離を調整する変数
    public float offsetx;
    public float offsety;
    public float offsetz;


    // Use this for initialization
    void Start () {

	}

	// Update is called once per frame
	void Update () {

        //プレイヤーのポジション
        Vector3 pos = player.transform.position;

        //カメラのポジション
        transform.position = new Vector3(pos.x + offsetx, pos.y + offsety, pos.z + offsetz);
	}
}
簡単に説明すると、カメラの位置をプレイヤーの位置と同じにし、offset変数を加算することで位置を微調整します。
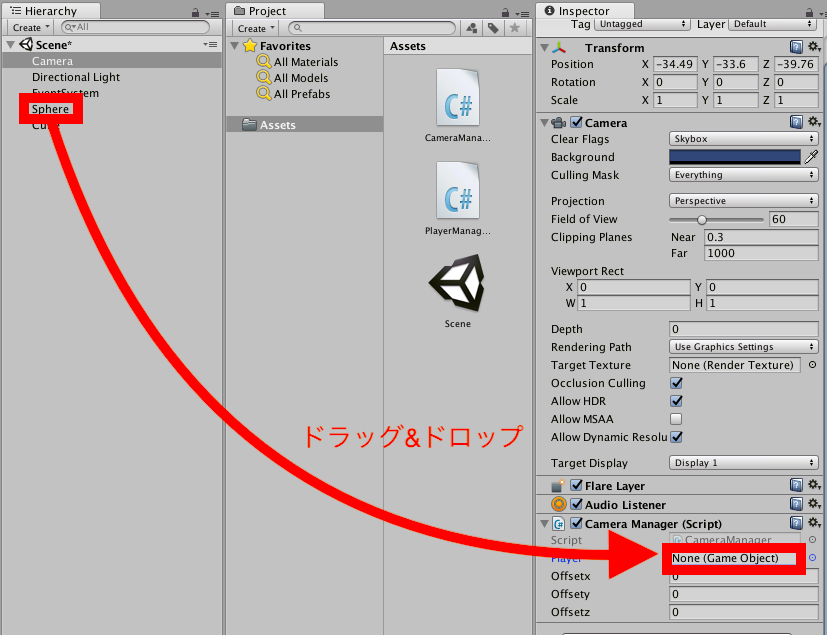
コードを書いたら、Unityエディターからプレイヤーと、offsetの値をセットしましょう。
プレイヤーはCameraを選択した状態でCameraManagerのPlayerにSphereをドラッグ&ドロップしてセットします。
offsetはyを0に、zを-3に変更してください。
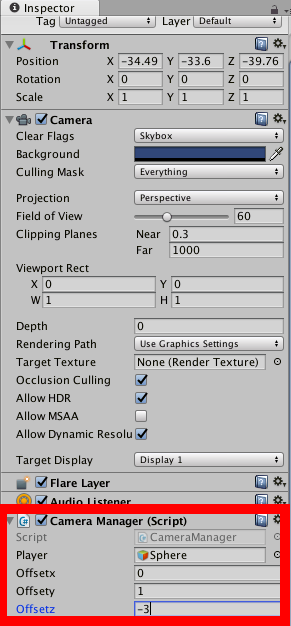
これで実行した時に、カメラがプレイヤーを追従する位置がプレイヤーの位置よりもy軸に『+1』、z軸に『-3』されるようになりました。
offsetの値を変えることで、追従する位置が変えられます。
実行結果は、
カメラが追従するようになっていますね!
まとめ
今回はプレイヤーをカメラが追従する方法について2Dと3Dでそれぞれまとめました。
この記事を読んで、カメラを追従させる方法が身についたのなら幸いです!